十一假期以过去一大半,本来是计划每天一篇学习记录进行更新的,结果今天才开始写第一篇博文。这就是为什么我还是一个菜鸟的原因。既然不能每天进步一点,那么就每周进步一点!
最近博主新入手一本《Netty实战》,从今天开始博主就来记录一下netty的学习笔记,便于以后回来翻看。
闲言少叙,书归正传。
编写echo服务器,即收到消息后即时回复的服务端代码。
1.maven依赖
        <dependency>
            <groupId>io.netty</groupId>
            <artifactId>netty-all</artifactId>
            <version>4.1.30.Final</version>
</dependency>使用netty只需要引用一个jar包即可。
2.创建channelHandler,即业务逻辑部分
package com.youyou.netty.learn.echo;
import io.netty.buffer.ByteBuf;
import io.netty.buffer.Unpooled;
import io.netty.channel.ChannelFutureListener;
import io.netty.channel.ChannelHandler;
import io.netty.channel.ChannelHandlerContext;
import io.netty.channel.ChannelInboundHandlerAdapter;
import io.netty.util.CharsetUtil;
import java.util.Date;
/**
* //TODO 添加类/接口功能描述
*
* @author 刘朋
* <br/>date 2019-10-05
*/
@ChannelHandler.Sharable //标示一个ChannelHandler可以被多个Channel安全地共享
public class EchoServerHandler extends ChannelInboundHandlerAdapter {
/**
* 对于每一个传入的消息都要调用
* @param ctx
* @param msg
*/
@Override
public void channelRead(ChannelHandlerContext ctx, Object msg) {
ByteBuf in = (ByteBuf) msg;
//将消息记录到控制台
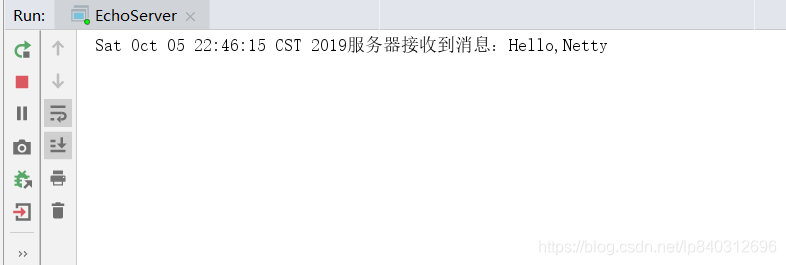
System.out.println(new Date()+"服务器接收到消息:" + in.toString(CharsetUtil.UTF_8));
//将接收到的消息写给发送者,而不冲刷出站消息
ctx.write(in);
}
/**
* 通知ChannelInboundHandler最后一次对channelRead()的调用是当前批量读取中的最后一条消息
* 就是接到一波数据后,最后调用的方法
* @param ctx
*/
@Override
public void channelReadComplete(ChannelHandlerContext ctx) {
//将未决消息冲刷到远程节点,并关闭该Channel,如果不需要每次服务器接收到消息之后立即断开连接,需要注释掉这一行
// ctx.writeAndFlush(Unpooled.EMPTY_BUFFER).addListener(ChannelFutureListener.CLOSE);
ctx.writeAndFlush(Unpooled.EMPTY_BUFFER);
}
/**
* 如果执行异常则回调此方法
* @param ctx
* @param cause
*/
@Override
public void exceptionCaught(ChannelHandlerContext ctx, Throwable cause) {
cause.printStackTrace();
//关闭该channle
ctx.close();
}
}
3.编写引导服务器,即服务启动类。
package com.youyou.netty.learn.echo;

import io.netty.bootstrap.ServerBootstrap;
import io.netty.channel.ChannelFuture;
import io.netty.channel.ChannelInitializer;
import io.netty.channel.EventLoopGroup;
import io.netty.channel.nio.NioEventLoopGroup;
import io.netty.channel.socket.SocketChannel;
import io.netty.channel.socket.nio.NioServerSocketChannel;

import java.net.InetSocketAddress;

/**
 * //TODO 添加类/接口功能描述
 *
 * @author 刘朋
 * <br/>date 2019-10-05
 */
public class EchoServer {

    private final int port = 8080;

    public static void main(String[] args) throws InterruptedException {

        new EchoServer().start();
    }

    private void start() throws InterruptedException {
        final EchoServerHandler echoServerHandler = new EchoServerHandler();
        //创建EventLoopGroup
        EventLoopGroup group = new NioEventLoopGroup();
        try {
            //创建ServerBootstrap
            ServerBootstrap serverBootstrap = new ServerBootstrap();
            serverBootstrap.group(group)
                    .channel(NioServerSocketChannel.class)//指定NIO传输Channel
                    .localAddress(new InetSocketAddress(port))//使用指定的端口设置套接字地址
                    //添加一个EchoServerHandler到子Channel的ChannelPipeline
                    .childHandler(new ChannelInitializer<SocketChannel>() {
                        @Override
                        protected void initChannel(SocketChannel socketChannel) {
                            socketChannel.pipeline().addLast(echoServerHandler);
                        }
                    });
            //异步地绑定服务器;调用sync()方法阻塞等待直到绑定完成
            ChannelFuture f = serverBootstrap.bind().sync();
            //获取Channel的closeFuture并且阻塞当前线程直到它完成
            f.channel().closeFuture().sync();
        }finally {
            //关闭EventLoopGroup释放所有的资源
            group.shutdownGracefully().sync();
        }
    }

}
通过以上两个类,简单的echo服务器我们已经写好了 ,这样就可以使用tcp助手进行测试了,测试结果如下: